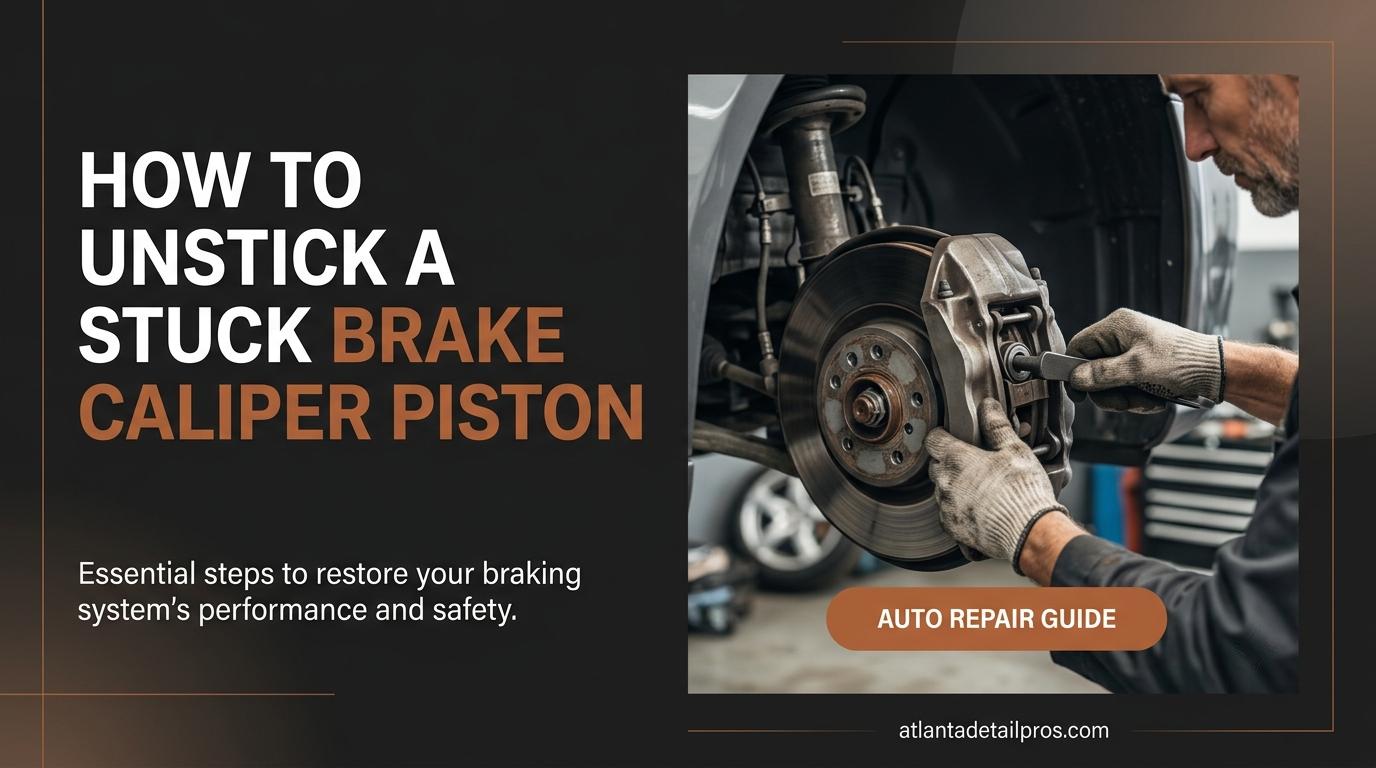
A stuck brake caliper piston is responsible for one of the most frustrating brake problems you can have: a wheel that runs hot, a car that pulls to one side when braking, a burning smell after a drive, or brake pads that chew through on one side while the other side looks barely touched. The piston is not releasing after you lift your foot, and that constant clamping force is cooking your pads, your rotor, and in serious cases, your wheel bearing.
This guide covers three methods to free a stuck piston in order from easiest and least invasive to more involved. It also covers the decision between rebuilding the caliper and replacing it outright, and the important special case of rear calipers with an integrated parking brake mechanism that cannot be handled the same way as front pistons.
First: Confirm the Piston Is the Problem, Not the Slide Pins
Before working on the piston itself, it is worth confirming that the piston is actually the stuck component. Many stuck caliper symptoms are caused by seized caliper slide pins rather than a seized piston. Slide pins are the two metal bolts that allow the caliper body to float and apply even pressure to both brake pads. A seized slide pin looks identical to a stuck piston from the outside but requires different treatment.
Signs That Point to a Piston vs Slide Pins
A stuck piston typically causes both inner and outer brake pads to wear rapidly and the entire caliper to drag. A seized slide pin causes uneven pad wear between the inner and outer pads on the same caliper: one pad will be nearly worn out while the other looks almost new. Remove the wheel and compare inner pad thickness to outer pad thickness. If they are dramatically different, fix the slide pins first. If both pads are worn evenly but the caliper is dragging, the piston is the likely culprit.
The Wheel Temperature Test
After a short drive of 10 to 15 minutes at normal speed, park safely and carefully hold your hand near (not touching) the wheel of the suspect corner and each of the other three wheels. Do not touch the rotor or caliper directly. A wheel that is significantly hotter than the others indicates a dragging brake at that corner. This confirms a caliper issue without removing anything. If the heat is consistent with one wheel and other symptoms are present, proceed with the piston work below.
Safety and Tools You Need Before Starting
Brake work requires a clean workspace, proper vehicle support, and a clear understanding of what you are working with before touching anything. Brake fluid is corrosive to paint and irritating to skin. Compressed air used incorrectly near a caliper bore can cause the piston to eject with significant force. Take a moment to set up correctly before beginning.
Safety Precautions
Always support the vehicle on properly rated jack stands, never on a floor jack alone. Keep brake fluid away from painted surfaces: it will strip paint almost immediately on contact. Wear nitrile gloves throughout. Have a supply of clean rags or shop towels ready to catch fluid. If you are using compressed air to extract a piston, place a thick folded rag or a wooden block inside the caliper bore opening before applying air, so the piston cannot shoot out freely if it releases suddenly.
Tools Required
You will need a floor jack and jack stands, a lug wrench or impact, a socket set for the caliper bolts, a C-clamp or dedicated brake piston wind-back tool, brake cleaner spray, clean brake fluid, new rubber gloves, and a container to catch brake fluid. If you are planning to extract the piston for a rebuild, you will also need a brake caliper rebuild kit for your specific caliper part number, a small pick or dental pick, and optionally a caliper bore hone for cleaning the bore surface.
Method 1: Hydraulic Pressure Using the Brake System
This is the first method to try because it uses the hydraulic force already built into your brake system to push the piston out past any corrosion that is restricting it. It is the most controlled approach and avoids disconnecting the brake line until necessary.
Step 1: Remove the Caliper From the Rotor
Remove the wheel. Locate the two caliper mounting bolts and remove them. Slide the caliper off the rotor without disconnecting the brake line. Support the caliper with a piece of wire hooked to the spring or strut to prevent it hanging from the flexible brake hose. Do not let the caliper dangle by the hose: this stresses and can damage the hose.
Step 2: Position and Use the Brake Pedal
With the caliper off the rotor but still connected to the brake line, place a thick rag inside the caliper opening where the piston sits. Have a helper gently press the brake pedal slowly. The hydraulic pressure from the master cylinder will push the piston outward through any corrosion that was resisting it. The rag prevents the piston from shooting out completely. Have your helper pump the pedal gently and watch the piston: it should begin moving outward.
Step 3: Stop the Piston Before It Ejects Completely
Stop your helper from pressing the pedal as soon as the piston has moved past the stuck area. Do not allow it to come out completely unless you are planning a full rebuild, because if it comes out, brake fluid will flow freely from the caliper and you will lose pedal pressure and create air in the system. Once the piston has moved past the corroded section, you can assess whether the piston moves smoothly in the bore or is still binding.
Method 2: Compressed Air Extraction
When the hydraulic method is not possible, when the brake line must be disconnected for other work, or when the piston needs to come out fully for a rebuild, compressed air through the brake fluid inlet port is the standard technique. This method is more abrupt than hydraulic pressure and requires the safety precaution of a rag block to control the piston.
Step 1: Prepare the Caliper
Disconnect the brake line from the caliper. Place a thick folded shop rag or a block of wood inside the caliper at the piston opening. The rag should fill as much of the opening as possible without blocking the bore itself. This rag is what prevents the piston from ejecting across the garage at speed when it releases.
Step 2: Apply Air at the Brake Fluid Port
Thread a rubber-tipped air nozzle or use a shop air fitting with a rubber tip into the brake fluid inlet port on the caliper body. Apply short bursts of compressed air at low pressure, starting at 10 to 20 PSI. Do not apply sustained high pressure immediately: start low and increase gradually. The piston should begin to move outward into the rag. If it releases suddenly, the rag absorbs the force. If it does not move at 40 PSI, the piston is severely corroded and may need physical intervention.
Step 3: Remove and Inspect the Piston
Once the piston is out, inspect its surface and the caliper bore. Light surface oxidation on the piston can be cleaned with fine steel wool and brake cleaner. The bore interior should be smooth without pitting or deep grooves. If the piston surface is heavily corroded, blistered, or cracked, replace the piston rather than reinstalling it. If the bore shows deep scoring or pitting, the caliper body is compromised and should be replaced.
Method 3: C-Clamp Compression for a Partially Seized Piston
When the piston is not ejecting outward but instead is failing to retract inward, the approach is reversed. A piston that extended but will not push back in is the typical scenario when you are trying to install new brake pads and the caliper will not accommodate the thicker pad. This method compresses the piston back into the bore against the resistance of its corrosion or sticky seals.
Step 1: Open the Bleeder Valve First
Before compressing the piston, open the bleeder valve on the caliper by turning it counterclockwise approximately half a turn. This allows the old fluid to escape as the piston is pushed in, rather than forcing it back up through the brake line into the master cylinder. Pushing old, debris-laden brake fluid back into the master cylinder can damage the master cylinder’s internal seals. Place a rag under the bleeder valve to catch the expelled fluid. Have a container available.
Step 2: Apply Gradual Pressure With the C-Clamp
Place the C-clamp with one end against the piston face and the other end against the back of the caliper body or the outer pad if it is still installed. Tighten the clamp slowly and evenly. The piston should compress back into the bore gradually. If it does not move after reasonable hand force on the clamp, the piston may be significantly corroded to the bore wall. Apply penetrating lubricant around the base of the piston where it enters the bore and allow it to soak for 30 minutes before trying again.
Step 3: Close the Bleeder Valve and Verify Movement
Once the piston is fully compressed, close the bleeder valve and check that the piston moves smoothly by hand with light pressure. A smooth, consistent resistance indicates intact seals. A piston that moves but feels gritty or uneven inside the bore has corrosion in the bore that will cause it to seize again. After reinstalling pads and caliper, pump the brake pedal several times to re-extend the piston before test driving.
Rebuild vs Replace: How to Decide After Freeing the Piston
Once you have the piston moving and assessed the bore condition, the decision is whether to rebuild the existing caliper with a seal kit or replace the whole caliper. This decision has real cost implications and should be made based on what you found during the work.
When to Rebuild the Caliper
A rebuild is appropriate when the caliper bore is clean and smooth with no visible pitting or scoring, the piston itself is smooth and undamaged with only light surface oxidation, and the caliper body is structurally sound. A caliper rebuild kit contains new rubber piston seals and dust boot for typically $15 to $40. The job requires cleaning the bore thoroughly, installing the new square-cut piston seal, pressing the piston back in with a light coat of fresh brake fluid, and installing the new dust boot. Rebuilt correctly, a caliper in good physical condition can last another 100,000 miles.
When to Replace the Entire Caliper
Replace the caliper when the bore shows deep scoring, pitting, or corrosion that cannot be cleaned with a bore hone, when the caliper casting has visible cracks or damage, or when the caliper has already been rebuilt once before and is seizing again. A new or remanufactured caliper for most common passenger vehicles costs $40 to $120. The labor to swap a caliper is similar to rebuilding one in terms of time, and a replacement eliminates the risk of the rebuilt unit failing again from residual bore corrosion. Replace calipers in pairs on the same axle so braking balance is maintained.
The Special Case: Rear Calipers With an Integrated Parking Brake
This section is critical for anyone working on rear brake calipers on modern vehicles. A large percentage of vehicles manufactured after 2005 have rear calipers that integrate the parking brake mechanism directly into the caliper piston. These pistons do not push straight in with a C-clamp. They must be rotated while being compressed, using a specific caliper wind-back tool that engages notches or tabs on the piston face.
How to Identify a Screw-Type Rear Piston
Look at the face of the rear caliper piston. A standard piston has a smooth or lightly recessed flat face. A screw-type integrated parking brake piston has a distinctive pattern: either two notches, a cross-pattern slot, or raised tabs on the face designed to engage a wind-back tool. If your rear caliper piston looks like anything other than a smooth flat face, do not attempt to push it in with a C-clamp. You will strip the internal thread mechanism and destroy the caliper.
Using a Wind-Back Tool on Screw-Type Pistons
A brake caliper wind-back tool set costs $20 to $40 and includes adapters for most common piston designs. Engage the correct adapter with the piston face notches or tabs. Apply clockwise rotation while simultaneously pressing inward. The piston threads into the caliper bore as you rotate it. Continue rotating until the piston is fully seated. Never use a C-clamp alone on this type of rear piston.
Frequently Asked Questions
What causes a brake caliper piston to get stuck?
The most common causes are corrosion forming on the piston surface or inside the caliper bore, degraded rubber seals that have swollen or become sticky and grip the piston, or a collapsed flexible brake hose that allows hydraulic pressure to reach the piston but restricts the release of pressure when the pedal is released. In rust-belt states and high-humidity climates, corrosion-based seizure is by far the most frequent cause.
Can I drive with a stuck brake caliper piston?
Briefly to reach a shop, but not normally. A dragging piston generates continuous heat in the affected wheel. This heat accelerates pad wear, can warp the brake rotor, and in severe cases generates enough heat to damage the wheel bearing and cause brake fluid to boil, resulting in a spongy or non-existent pedal. If the car pulls significantly to one side under braking, this is also a handling safety issue. Repair it before your next long drive.
How much does stuck brake caliper repair cost at a shop?
A single caliper rebuild with new seals costs $80 to $200 at an independent shop in labor, plus $15 to $40 for the rebuild kit. A full caliper replacement costs $150 to $350 including a remanufactured caliper and labor. Replacing both calipers on the same axle to maintain balance runs $280 to $600. If pads and rotors also need replacement due to the dragging damage, add $150 to $400 for that axle.
The Bottom Line
A stuck brake caliper piston is a fixable problem that rewards working through the methods in order. Hydraulic pressure is the gentlest first attempt. Compressed air extracts the piston for inspection and rebuild. A C-clamp handles the retraction side of the problem for pad replacement. Assess the bore condition honestly after freeing the piston: a scored or deeply pitted bore means replace, not rebuild. And always check your rear calipers for an integrated parking brake before reaching for the C-clamp.