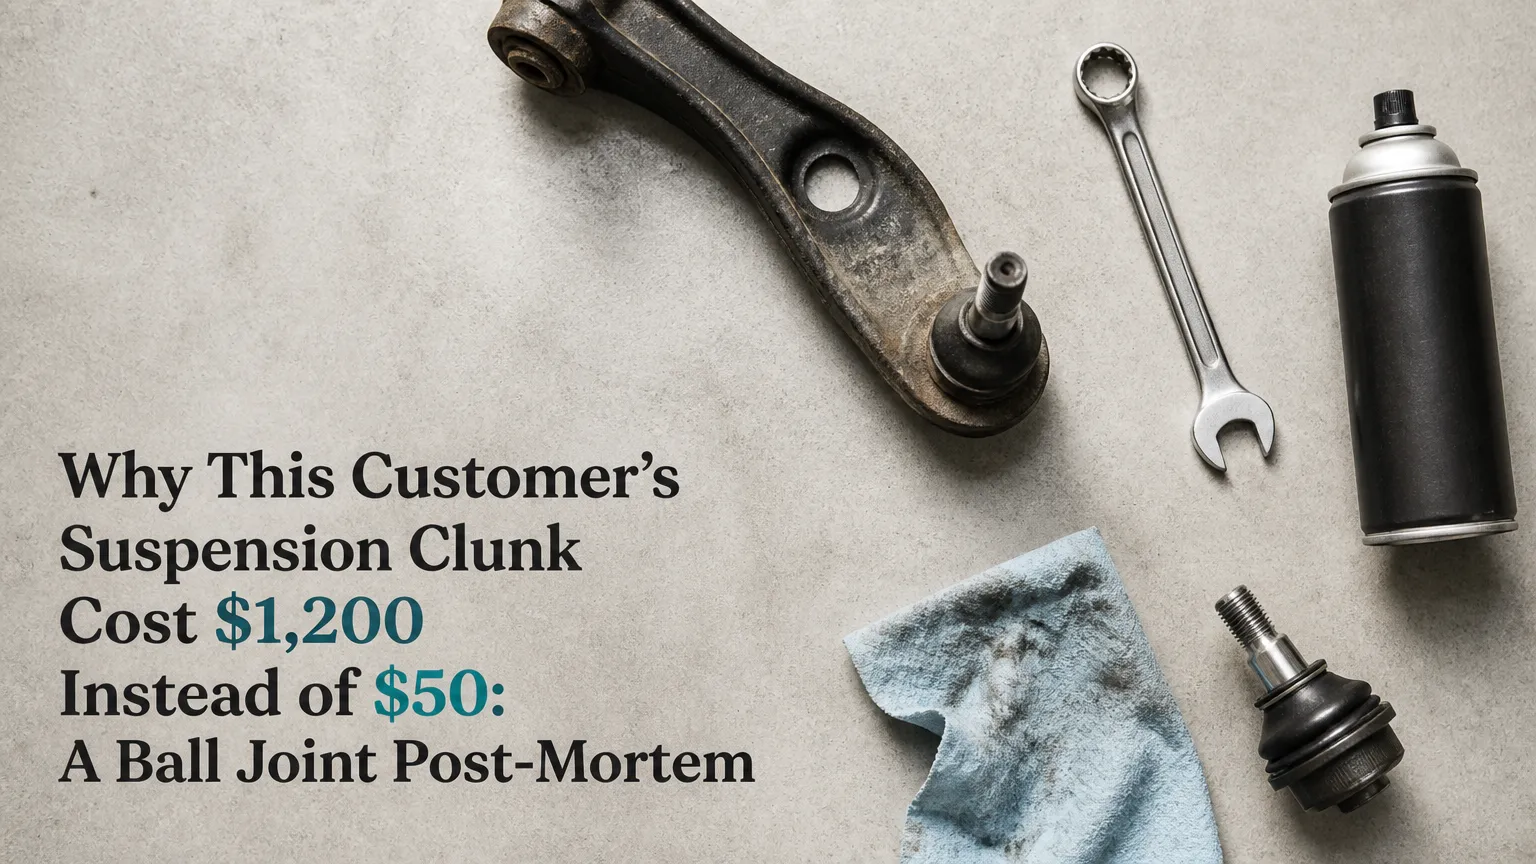
The tow truck brought it in on a flatbed. The right front wheel was canted outward at roughly 20 degrees, the CV axle had separated at the inner tripod joint, the brake flex hose was stretched and weeping fluid, and the lower control arm had a visible bend in its forward leg.
Six months earlier, this 2015 Honda Accord had a simple clunk over bumps. The owner had looked up the symptom, read “probably a sway bar end link,” priced the part at $48, and decided to deal with it later. Here is the full damage accounting, the joint autopsy, and the pry-bar test that would have caught this before the ball stud sheared.
How the Car Arrived and What the Initial Inspection Showed
Vehicle: 2015 Honda Accord Sport 2.4L, 94,200 miles at failure, 87,800 miles at first reported noise.
The owner reported a clunking noise from the front right corner over bumps and rough pavement for approximately six months before the failure event. He had not noticed any change in steering feel, no vibration, no pull, and no change in noise character over that period. The noise was intermittent and seemed worse on cold mornings.
On the day of failure, he drove over a concrete expansion joint at approximately 35 mph on a highway on-ramp. The right front collapsed immediately. The vehicle veered hard right, the right front dropped to the rotor, and he managed to steer onto the shoulder without a collision.
Tow-in damage assessment:
| Component | Condition at Arrival | Status |
|---|---|---|
| Right front lower ball joint | Stud completely sheared at the taper | Destroyed |
| Right front CV axle | Inner tripod joint separated, boot torn | Destroyed |
| Right front brake flex hose | Stretched 2.4 inches beyond normal length, weeping | Destroyed |
| Right front lower control arm | Forward leg bent 8mm out of plane | Destroyed |
| Right front wheel bearing | Radial play present, impact load | Inspect/replace |
| Right front steering knuckle | Taper bore damaged from ball stud shear | Destroyed |
| ABS wheel speed sensor harness | Pulled from sensor body, connector torn | Destroyed |
The steering knuckle taper bore, where the ball stud seats, had been damaged during the separation event. The knuckle was not reusable. The total parts and labor bill came to $1,247 including alignment.
The Ball Joint Autopsy
We sectioned the failed ball joint housing after removal to inspect the internal socket and stud condition. What we found inside explained the failure timeline completely.
The dust boot had failed. The factory rubber boot, which retains grease inside the ball socket and excludes road contamination, had developed a tear at its lower crimped edge. Under the torn boot: no grease. The socket was completely dry, with iron oxide corrosion on the bearing cup surface and visible scoring marks on the ball stud sphere where the dry metal-to-metal contact had been grinding away the surface for an extended period.
The stud shear point showed a fatigue fracture pattern, not a sudden overload fracture. A fatigue fracture means the stud had been cycling through partial crack propagation over many thousands of wheel travel cycles before the final fracture event. This failure did not happen at the expansion joint. The expansion joint was just the load cycle that exceeded what remained of the stud’s structural cross-section. The stud had been failing progressively for months.
The opposite side lower ball joint was still in the car. We measured it before recommending replacement:
| Play Type | Measured Value | Honda Specification Limit | Status |
|---|---|---|---|
| Radial play (horizontal) | 0.120 inches | 0.060 inches maximum | 2x over limit |
| Axial play (vertical) | 0.094 inches | 0.030 inches maximum | 3x over limit |
The opposite ball joint had 0.120 inches of radial play, double the rejection threshold. It was within weeks of the same failure. We replaced it as part of the repair.
What the Noise Was Actually Telling Him
The six-month noise history contains the diagnostic information that would have changed the outcome. The owner described it as a clunk over bumps with no directional sensitivity during cornering. That description points to a sway bar end link, not a ball joint. And he was not entirely wrong: the sway bar end link was also worn and did contribute to the noise. But the ball joint failure had a different acoustic signature that was present within that noise and that he had not distinguished.
How to differentiate the two by noise alone:
| Noise Source | Trigger Condition | Sound Character | Directional? |
|---|---|---|---|
| Worn sway bar end link | Random bumps, road irregularities | Sharp single clunk | No |
| Worn ball joint (early stage) | Weight transfer in turns, brake application | Groan, creak, or dull thud | Yes, toward loaded side |
| Worn ball joint (late stage) | Any suspension movement | Constant clunk, may feel through floor | Becomes constant |
| Separated ball joint | First major impact after failure | No warning, immediate collapse | N/A |
The groan during weight transfer in cornering, which the owner mentioned in passing when we asked specifically, was the ball joint. He had attributed it to normal tire noise. That specific symptom, a groan or creak when steering feel shifts from straight-ahead to a corner entry, is a ball joint indicator until proven otherwise.
The Full Financial Escalation
The sway bar end link that started this story costs $48 in parts and takes 25 minutes to replace. It should have been replaced at the first clunk.
| Component | Repair Cost if Addressed at First Noise | Actual Repair Cost After Failure |
|---|---|---|
| Sway bar end link (right) | $48 parts, $45 labor = $93 | Replaced as part of teardown, $93 |
| Lower ball joint (right) | $85 parts, $110 labor = $195 | $185 parts + included in labor |
| Lower ball joint (left, worn) | $85 parts, $55 labor = $140 | $185 parts + $85 labor = $270 |
| CV axle (right) | Not damaged | $310 parts + $140 labor = $450 |
| Brake flex hose (right) | Not damaged | $65 parts + $55 labor = $120 |
| Lower control arm (right) | Not damaged | $190 parts + $95 labor = $285 |
| Steering knuckle (right) | Not damaged | Used OEM, $85 + $65 labor = $150 |
| ABS harness repair | Not damaged | $95 parts + $75 labor = $170 |
| Alignment | $110 | $110 |
| Towing | Not needed | $95 |
| Total | $538 | $1,643 |
The difference between acting on the first noise and waiting: $1,105. The ratio: 3 to 1. The $50 part he was going to get around to replacing eventually cost him $1,643 by the time it arrived on a flatbed.
Why the Aftermarket Split Boot Made It Worse
The service history showed a suspension inspection at a quick-lube chain at 79,000 miles, approximately 15,000 miles before failure. The tech noted worn dust boots and installed aftermarket universal split boots on both lower ball joints at that visit. Split boots are a shortcut repair: instead of replacing the entire joint, a technician installs a two-piece boot that clamps around the stud without requiring joint disassembly.
The split boot on the right front lower joint had failed completely by the time we inspected it. Split boots rely on an adhesive seam and mechanical clamps to retain grease. Under the thermal cycling and flex loading of a suspension joint in continuous road use, the seam opens. Once the seam opens, grease exits and road debris enters. The failure timeline from split boot installation to complete grease loss to metal-to-metal contact to fatigue fracture initiation was approximately 12,000 to 15,000 miles in this case.
A complete ball joint replacement at the 79,000-mile inspection would have cost $85 in parts. The split boot repair cost approximately $35 per side. The $50 savings per side delivered a $1,643 repair bill 15,000 miles later.
The Driveway Inspection: Catching This Before It Catches You
You need a floor jack, two jack stands, and a pry bar. This takes 20 minutes per side and requires no special tools or training beyond basic jack safety.
Lower ball joint axial play test:
- Jack the front of the vehicle and support it on stands under the frame, allowing the front suspension to hang freely at full droop.
- Place the pry bar under the tire and lever upward while watching the ball joint area for movement.
- Any visible vertical movement between the knuckle and the control arm exceeding 1/16 inch is a rejection. Any movement that produces a clunk is a rejection.
Lower ball joint radial play test:
- With the wheel hanging, grip the tire at 9 o’clock and 3 o’clock and push and pull laterally while watching the ball joint.
- Any lateral play that is not attributable to wheel bearing movement is ball joint radial play. More than 1/8 inch is a rejection.
Sway bar end link test:
- With the wheel hanging, grip the sway bar link and attempt to move it in all directions.
- Any free play at the link-to-bar or link-to-control-arm connection is a worn link. A worn link clunks. A new link has zero play.
The Urgency Scale: Which Suspension Noises Can Wait and Which Cannot
| Noise / Finding | Drive Urgency | Timeline to Repair |
|---|---|---|
| Sway bar end link clunk | Service soon | Within 4 to 6 weeks |
| Sway bar bushing squeak | Monitor | Within 2 to 3 months |
| Ball joint with measurable play, boot intact | Urgent | Within 1 to 2 weeks |
| Ball joint with torn or missing boot | Stop and tow | Do not drive |
| Ball joint with visible radial play above 1/8 inch | Stop and tow | Do not drive |
| Any clunk that produces steering pull or wheel shimmy | Stop and evaluate | Tow if pull is severe |
A sway bar link can wait a few weeks. A ball joint with a torn boot or measurable play cannot. The distinction between those two conditions is the difference between a $93 repair and a $1,643 repair. The pry-bar test takes 20 minutes and tells you exactly which situation you are in.