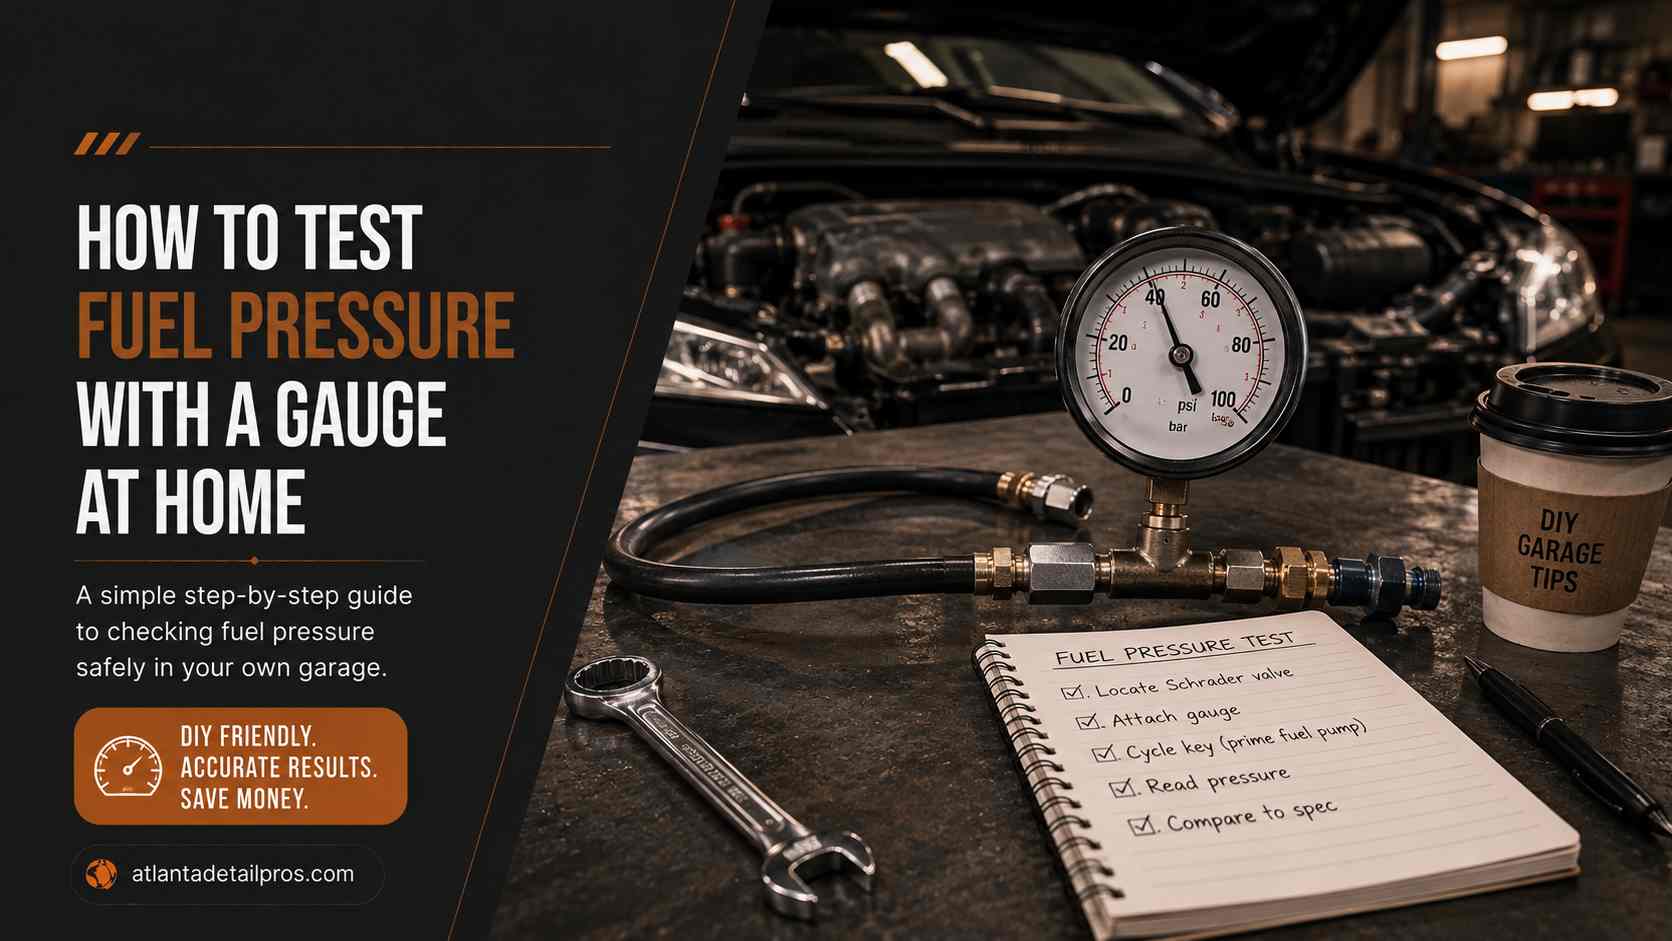
Yes, you can test fuel pressure at home using a fuel pressure gauge kit connected to the Schrader valve on the fuel rail, and the test takes under 15 minutes with a gauge kit that costs $20 to $50 at any auto parts store or borrowed free from most major auto parts chain loan programs.
Fuel pressure testing is one of the most direct diagnostic tests available for no-start conditions, hard starts, rough idle, loss of power under load, and rich or lean running conditions. A gauge reading at cranking, at idle, and at key-on-engine-off tells you immediately whether the fuel delivery system is operating within specification or whether a failed fuel pump, clogged fuel filter, faulty pressure regulator, or leaking injector is the cause of your symptoms.
This test does not require a scan tool, a dynamometer, or any specialized training. It does require basic safety precautions around fuel: fuel is flammable, and a pressurized fuel system must be depressurized before any fittings are connected. Following the procedure below keeps the test safe and the results accurate.
What Fuel Pressure Testing Reveals
Test Condition | What It Reveals |
|---|---|
Key-on engine-off (KOEO) pressure | Fuel pump prime pressure and check valve integrity |
Pressure at idle | Pump output under light load |
Pressure at wide-open throttle snap test | Pump output under maximum demand |
Pressure leak-down after engine off | Injector leak-down and check valve integrity |
Pressure with vacuum line disconnected (port injection) | Pressure regulator function |
What You Need
You will need a fuel pressure gauge kit with a Schrader valve adapter (included in most kits), shop rags or paper towels, safety glasses, a fire extinguisher within reach (not optional), and your vehicle’s correct fuel pressure specification from the repair manual or an online OEM source.
Step 1: Find the Correct Fuel Pressure Specification
Before connecting anything, find the correct fuel pressure specification for your vehicle. Common specifications by system type:
Vehicle Category | Typical Fuel Pressure Range |
|---|---|
Port-injected gasoline, returnless system | 55 to 65 PSI |
Port-injected gasoline, return-style system | 40 to 55 PSI |
Throttle body injection (older vehicles) | 9 to 18 PSI |
Gasoline direct injection, low-pressure side | 55 to 70 PSI |
Gasoline direct injection, high-pressure side | 1,500 to 3,000 PSI (not testable with standard gauge) |
Do not use a standard fuel pressure gauge on a GDI high-pressure circuit: it will destroy the gauge and create a dangerous fuel spray.
Step 2: Relieve the Fuel System Pressure
The fuel rail is pressurized even with the engine off. Connecting a gauge to a pressurized rail without first releasing pressure will spray fuel. Locate the fuel pump fuse or relay in the fuse box (check the owner’s manual for the correct fuse). With the engine idling, pull the fuse. The engine will run briefly and stall as it uses the remaining fuel in the rail. Crank the engine once more for 2 seconds after it stalls to fully clear residual pressure.
Alternative method: wrap a rag around the Schrader valve, use a small pen or pick to depress the center pin of the Schrader valve while holding the rag around it. The rag catches the small amount of fuel that sprays out as pressure releases.
Step 3: Locate the Schrader Valve on the Fuel Rail
The Schrader valve is a tire valve-style fitting mounted on the fuel rail, typically near the injectors on the engine. It has a rubber cap (often black or red). Not all vehicles have an accessible Schrader valve: some returnless fuel systems require connecting the gauge inline with a fuel line, which requires a different adapter included in most gauge kits. If your vehicle has no Schrader valve, consult the repair manual for the correct connection point.
Step 4: Connect the Fuel Pressure Gauge
Thread or push the gauge adapter onto the Schrader valve fitting. The adapter presses the valve pin open and seals simultaneously when correctly engaged. Confirm the connection is secure and there is no dripping at the fitting. Route the gauge hose to a position where you can read it safely from outside the engine bay.
Step 5: Key-On Engine-Off (KOEO) Pressure Test
Turn the ignition key to the ON position without cranking the engine. The fuel pump should prime for 2 to 3 seconds and build pressure in the rail. Read the gauge immediately. A healthy fuel pump should build to within 5 to 10 PSI of the running specification within 2 to 3 seconds of key-on. Weak or no pressure buildup at KOEO indicates a failing fuel pump, a blown fuse, a faulty relay, or a clogged filter.
Step 6: Running Pressure Test
Start the engine and let it idle. Read the gauge at idle and compare to the specified idle pressure for your vehicle. Then snap the throttle quickly (a brief wide-open throttle application). A healthy pump should momentarily drop pressure slightly as demand increases, then recover within one second. A pump that cannot recover pressure at wide-open throttle is failing under load: this is the classic highway power loss failure pattern.
Step 7: Pressure Leak-Down Test
With the engine off after the running test, observe the gauge for 5 to 10 minutes. Record the pressure at engine-off, check it at 5 minutes, and check again at 10 minutes.
Leak-Down Pattern | Likely Cause |
|---|---|
Holds within 5 PSI over 10 minutes | System is leak-tight: normal |
Rapid drop within 1 to 2 minutes | Leaking injector or fuel rail check valve |
Slow steady drop over 10 minutes | Fuel pump check valve (anti-drainback) failing |
No pressure remaining after 5 minutes | Multiple leaking injectors or severely failed check valve |
A rapid pressure drop after engine-off means the fuel pump’s check valve is not holding, or one or more injectors is leaking fuel back into the intake manifold. Injectors that leak fuel into the manifold at shutdown cause a hard cold-start condition as excess fuel floods the cylinders.
Step 8: Disconnect the Gauge Safely
Relieve pressure by depressing the Schrader valve pin with a rag wrapped around it. Disconnect the gauge adapter. Reinstall the valve cap. Reinstall the fuel pump fuse. Start the engine and verify normal operation.
“I had a no-start on my Ranger that everyone blamed on the crankshaft sensor. I borrowed a fuel pressure gauge from the parts store, did the KOEO test, and got zero pressure. Turned out the fuel pump had failed completely. Saved myself a crankshaft sensor replacement I didn’t need. The gauge test took about 10 minutes.” : Sofia Andrade, 2006 Ford Ranger owner
FAQ
What if my car has no Schrader valve on the fuel rail?
Many returnless fuel injection systems and some older vehicles do not have a Schrader valve. Most fuel pressure gauge kits include inline adapters that splice into the fuel supply line between the filter and the rail. Identify the correct splice location in the repair manual and use the appropriate adapter. The test procedure is identical once the gauge is connected.
What does it mean if fuel pressure is correct at idle but drops under load?
Pressure that is correct at idle but drops when the throttle is snapped or during hard acceleration indicates a fuel pump that passes the low-demand test but cannot maintain volume under high-demand conditions. This is the classic pattern of a fuel pump that is failing progressively. Replace the pump before it fails completely on the road.
Can fuel pressure be too high?
Yes. Fuel pressure above specification is typically caused by a stuck-closed or failing fuel pressure regulator (on return-style systems), a restricted fuel return line, or a defective regulator. High fuel pressure causes rich running, increased fuel consumption, and fouled spark plugs. Test and replace the regulator if pressure consistently reads above the maximum specification.
Does a clogged fuel filter show up on a pressure test?
Yes. A clogged fuel filter restricts flow to the fuel rail. At idle the pump may maintain adequate pressure, but at wide-open throttle the restriction prevents the pump from supplying enough volume and pressure drops. A pressure test showing normal idle pressure but a drop that does not recover at wide-open throttle can indicate either a failing pump or a clogged filter. Replace the filter first if it has not been serviced, then retest.
How accurate is a home fuel pressure test compared to a shop test?
A home fuel pressure gauge test measures the same parameter as a shop test: fuel rail pressure at various operating conditions. The limitation is that a basic gauge kit does not log data over time or perform a dynamic wide-open throttle test on a chassis dyno. For the purpose of confirming whether a pump primes, maintains idle pressure, and holds after shutdown, the home gauge is fully accurate and sufficient.
Bottom Line
Testing fuel pressure with a gauge at home takes under 15 minutes, costs nothing if you use the parts store loan program, and produces direct, unambiguous data about whether your fuel delivery system is functioning correctly.
The KOEO test tells you whether the pump primes to specification. The running test tells you whether the pump maintains pressure at idle and under load. The leak-down test tells you whether the check valve and injectors are holding after shutdown.
Perform this test before replacing an oxygen sensor, crankshaft sensor, or any other component that shows a code when the actual root cause is insufficient fuel pressure. Many misdiagnosed fuel delivery problems could be resolved in 15 minutes with a borrowed gauge and a fuse pull.