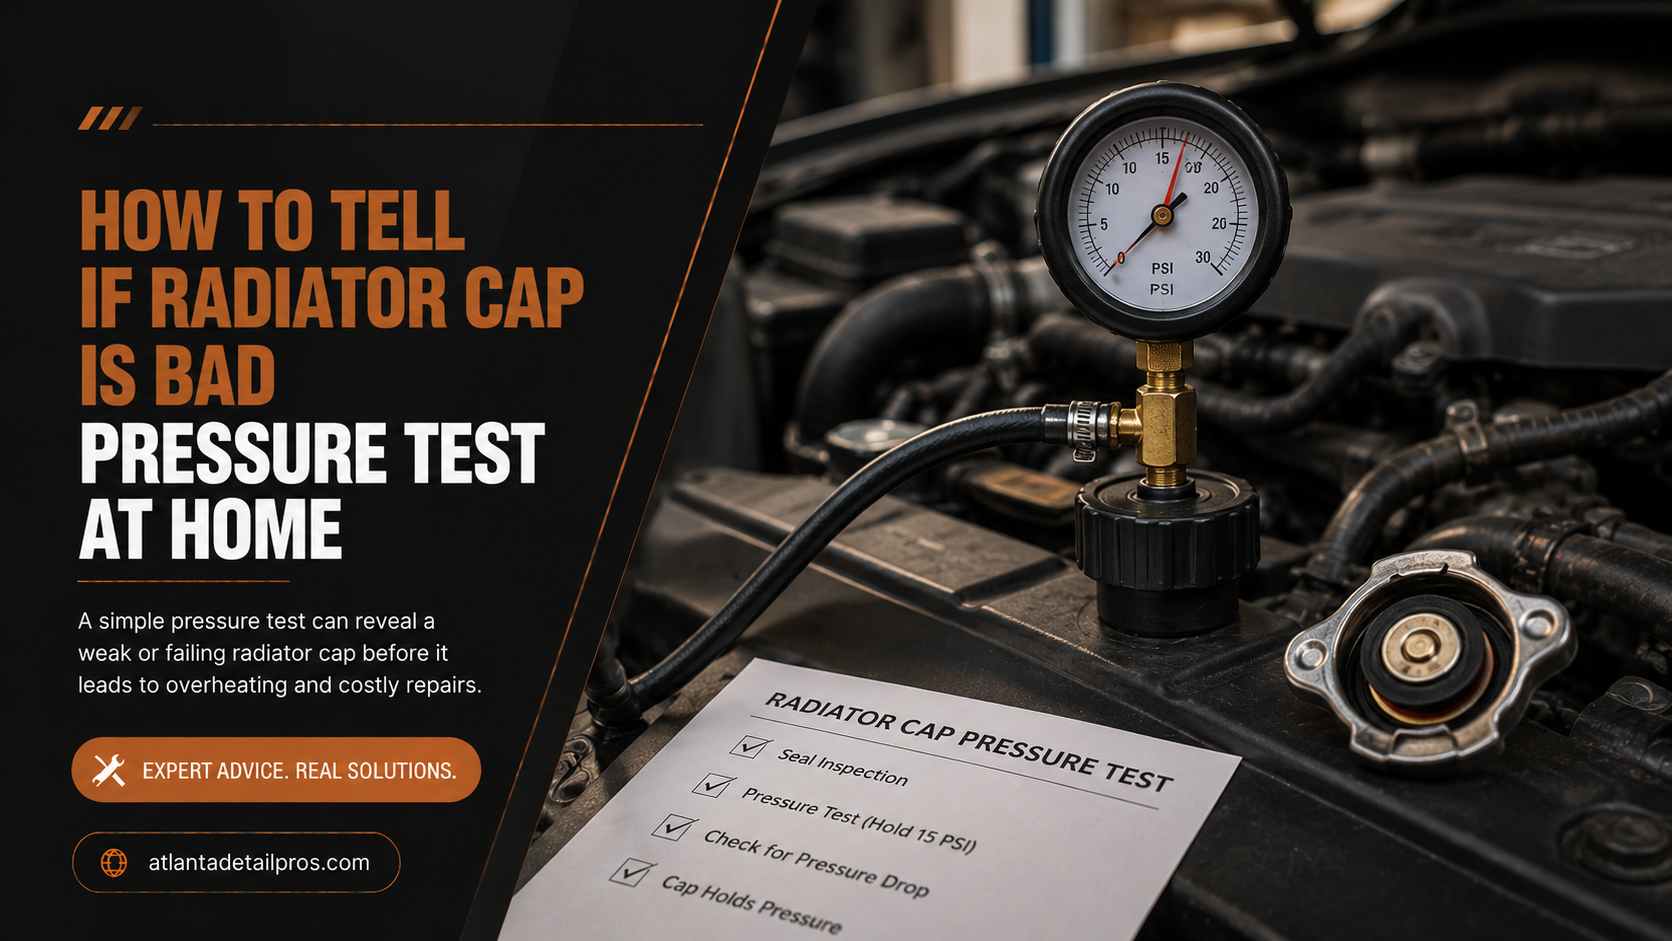
The most reliable way to tell if a radiator cap is bad at home is a visual inspection for seal degradation combined with a pressure test using an inexpensive cooling system pressure tester, which confirms whether the cap holds its rated pressure and releases correctly at the specified threshold.
A radiator cap that fails either of these tests should be replaced immediately: it is responsible for maintaining the system pressure that raises coolant’s boiling point and prevents overheating. A cap costs $12 to $25. The engine damage from a cooling system that cannot hold pressure costs hundreds to thousands more.
Most drivers do not think about the radiator cap until coolant is dripping from the overflow, the engine is overheating, or a mechanic mentions it during a service. The cap has a finite service life driven by rubber seal degradation and spring fatigue, and it fails silently until it either vents prematurely (causing overflow) or fails to hold pressure (causing low-temperature boil-over). Both failure modes are testable at home in under 10 minutes with a tool that is free to borrow at most major auto parts stores.
What a Radiator Cap Actually Does
The radiator cap has two functions that most drivers do not realize are separate. The first is to pressurize the cooling system. The spring-loaded valve holds the system sealed until pressure exceeds the cap’s rating, then vents excess pressure and coolant into the overflow reservoir. Pressurizing the coolant raises its boiling point by approximately 3 degrees Fahrenheit per PSI: a system at 15 PSI boils at roughly 45 degrees higher than unpressurized water, which is the margin that prevents boil-over under hard driving.
The second function is the vacuum release. As the engine cools, the coolant contracts and the system would develop a vacuum without a relief mechanism. The cap’s vacuum valve opens to draw coolant back from the overflow reservoir into the radiator, keeping the system full.
Symptoms of a Failing Radiator Cap
Symptom | How Cap Failure Causes It |
|---|---|
Coolant overflow from reservoir when hot | Cap spring weak: venting below rated pressure |
Engine overheating at highway speed | Cap not holding pressure: boiling point drops |
Coolant reservoir empty after each drive | Cap venting excessively, vacuum valve not returning fluid |
Coolant level dropping with no visible leak | Vacuum valve not drawing coolant back from reservoir |
Collapsed radiator hose when cold | Vacuum valve stuck closed: vacuum developing without relief |
Visual Inspection Procedure
Perform this inspection with the engine fully cold. Never open a pressurized radiator cap on a hot engine.
Step 1: Remove the Cap Safely
On a cold engine, turn the cap counterclockwise to the first stop and allow any residual pressure to release before fully removing it. On most vehicles this takes 2 to 3 seconds.
Step 2: Inspect the Lower Rubber Seal
The lower rubber sealing ring contacts the radiator filler neck seat and creates the hydraulic seal. Press the rubber firmly with your thumb. It should feel soft and pliable, returning to its original shape immediately when pressure is released. A seal that feels hard, brittle, cracked, or permanently flattened will not seal correctly under system pressure.
Step 3: Check the Upper Seal
The upper rubber disc seals the cap body to the neck. Inspect it for the same degradation signs as the lower seal.
Step 4: Inspect the Spring
Press the cap valve against a hard surface. The spring should offer significant resistance. A cap whose valve compresses easily under moderate hand pressure has a fatigued spring and will open below rated pressure under actual system conditions.
Step 5: Check the Cap Pressure Rating
The rating is stamped on the top of the cap, typically in PSI or kPa. Write it down: you need it for the pressure test and to ensure any replacement cap matches the specification exactly.
Pressure Test Procedure at Home
A cooling system pressure tester kit with a cap adapter is available at auto parts stores for $25 to $60, or can be borrowed free from most major auto parts store loan programs. This is the most definitive home test available.
Step 1: Attach the Cap to the Tester
Cooling system pressure testers include a cap adapter that the radiator cap threads or presses onto. Attach your cap to the adapter according to the tester’s instructions.
Step 2: Pump to Rated Pressure
Slowly pump the tester until the gauge reads the cap’s rated pressure (for example, 15 PSI for a cap rated at 15 PSI).
Step 3: Hold Test
Watch the gauge for 60 seconds. The cap should hold the rated pressure without the gauge dropping. If pressure drops before the 60-second mark, the cap is not sealing correctly and should be replaced.
Step 4: Verify Opening Pressure
Continue pumping slowly past the rated pressure. The cap valve should open and release pressure within 1 to 3 PSI above the rated value. A cap that requires significantly more than rated pressure to open has a stuck valve and is failing in the opposite direction.
Testing the System Pressure (Bonus Step)
With the cap removed and the tester attached directly to the radiator filler neck using the neck adapter, pump the system to the cap’s rated pressure with the engine cold. Hold pressure for 10 minutes. A system that holds pressure confirms no internal or external leaks exist. A system that drops pressure indicates a leak somewhere in the circuit even if no external drip is visible, which shifts the diagnostic focus from the cap to the hoses, radiator, or internal components.
“I spent a week chasing a slow coolant loss on my Tacoma. No visible leaks anywhere. Borrowed a pressure tester from the parts store, tested the cap first, and it opened at 8 PSI on a cap rated for 16. That was the entire problem. New cap, no more coolant loss, system held pressure perfectly.” : Ethan Bourke, 2012 Toyota Tacoma owner
Repair and Replacement Cost
Item | Cost |
|---|---|
Cooling system pressure test kit (purchase) | $25 to $60 |
Cooling system pressure tester (loan program) | Free at most auto parts chains |
Replacement radiator cap (most vehicles) | $12 to $25 |
Replacement pressurized reservoir cap | $10 to $30 |
Shop cooling system pressure test | $40 to $80 |
FAQ
Does the replacement cap need to match the exact pressure rating?
Yes. Installing a cap with a lower pressure rating allows the system to vent prematurely, dropping the coolant’s boiling point and causing overheating under load. Installing a cap with a higher pressure rating increases stress on hoses, the radiator, and other components not designed for that pressure. Always match the OEM-specified rating exactly.
Can I test the radiator cap without a pressure tester?
A visual inspection alone can identify obvious failures (cracked seal, flat spring) but cannot confirm whether the cap opens at the correct pressure. The pressure tester is the only definitive test. Since it is available free on loan at most major auto parts stores, there is no practical reason to skip it.
How often should a radiator cap be replaced?
Replace the radiator cap every 50,000 to 75,000 miles or every second coolant service. Caps fail gradually with no obvious symptom until the failure is advanced. Proactive replacement is inexpensive insurance.
My car has a sealed cooling system with no radiator cap, only a reservoir cap. Does this test apply?
Yes. Many modern vehicles use a pressurized reservoir cap rather than a traditional radiator cap. The cap on that reservoir is the system pressure cap and should be tested using the same procedure. The pressure rating will be stamped on the cap.
Can a bad radiator cap cause the temperature gauge to run high?
Yes. A cap not holding rated pressure allows the coolant to boil at a lower temperature under load. The engine temperature rises and the driver sees an elevated temperature reading that appears to be a thermostat, water pump, or sensor problem. Replacing the cap first before diagnosing those more expensive components is the correct diagnostic sequence.
Bottom Line
A visual inspection combined with a pressure tester confirms definitively whether your radiator cap is causing your cooling system symptoms, and the entire test takes under 10 minutes with a tool that is free to borrow from any major auto parts store.
The cap is a $12 to $25 part that controls the pressure environment the entire cooling system depends on. When it fails, the symptoms look like expensive problems: overheating, coolant loss, and overflow.
Test the cap first. Replace it if it fails the visual or pressure test. Then re-test the system under pressure to confirm there are no underlying hose, radiator, or internal leaks contributing to the problem. This sequence saves you from replacing a thermostat, water pump, or head gasket that may not be the actual issue.